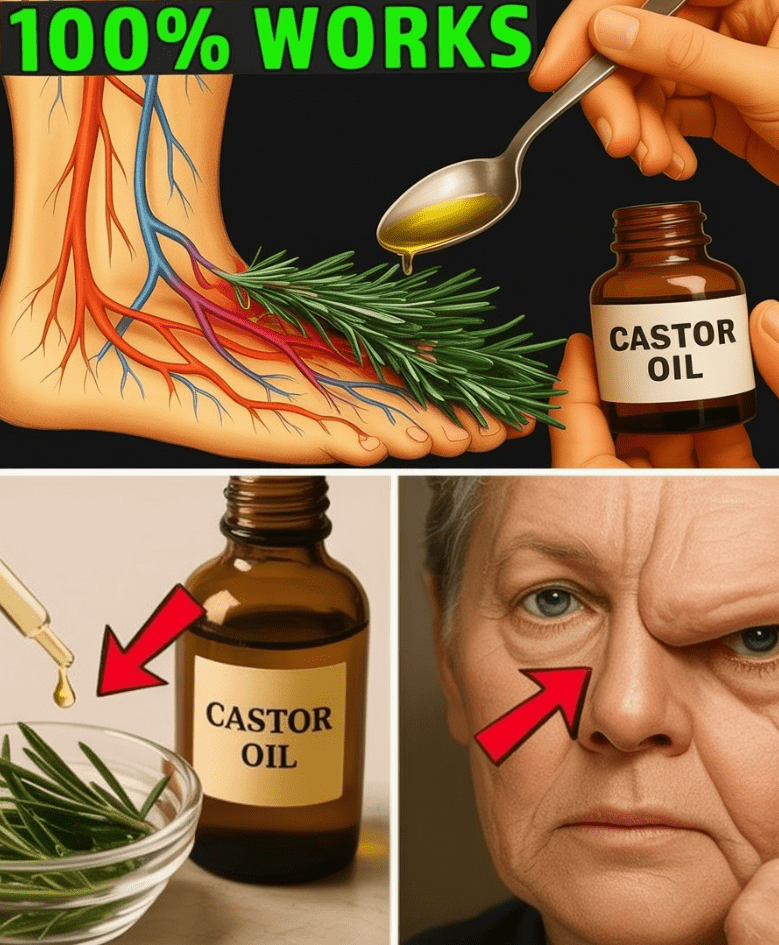
Why This Method Shines
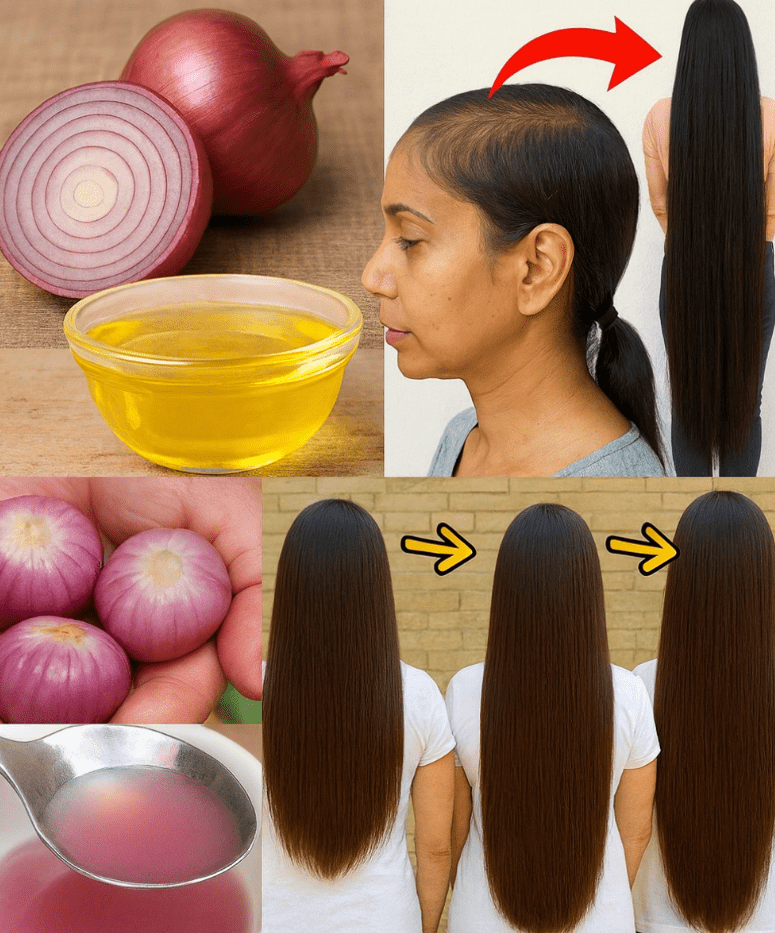
Did you know that over 70% of people over 40 experience some degree of graying hair, yet many hesitate to use chemical dyes due to scalp irritation or long-term health concerns? Imagine a kitchen staple like onion peels transforming your silver strands into vibrant, natural hues without harsh chemicals. This isn’t a quirky internet trend—it’s a time-tested, eco-friendly method rooted in traditional practices. In this guide, you’ll discover how to use onion peels to dye your gray hair naturally, achieving stunning results with minimal effort. From step-by-step instructions to practical tips for vibrant color, we’ll cover everything you need to know to embrace this gentle, budget-friendly solution. Whether you’re new to natural hair care or seeking a safer alternative to salon dyes, this article will empower you to enhance your hair’s beauty sustainably. Let’s dive into the world of onion peel hair dye and unlock a natural glow!
Why Onion Peels Work for Gray Hair
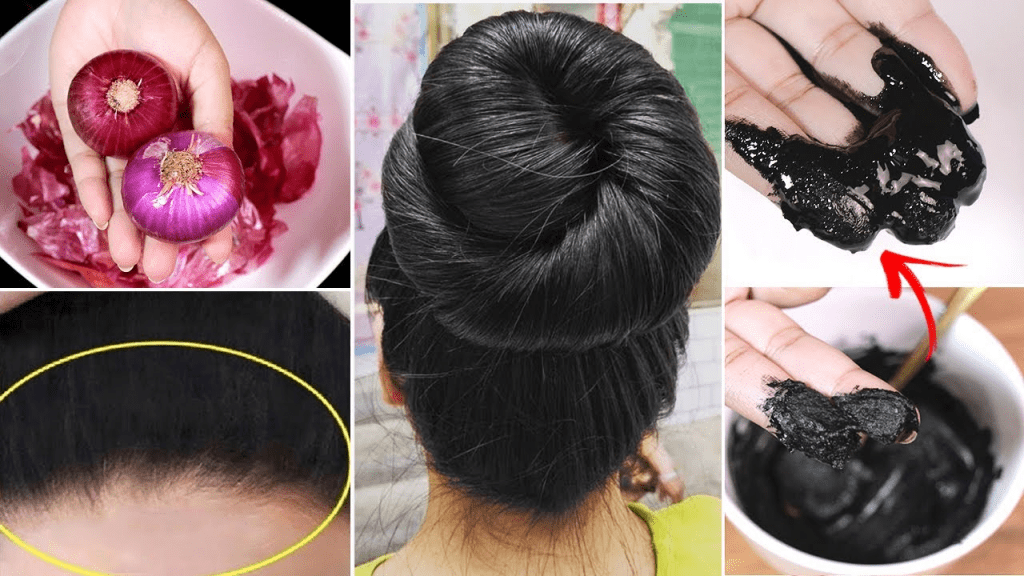
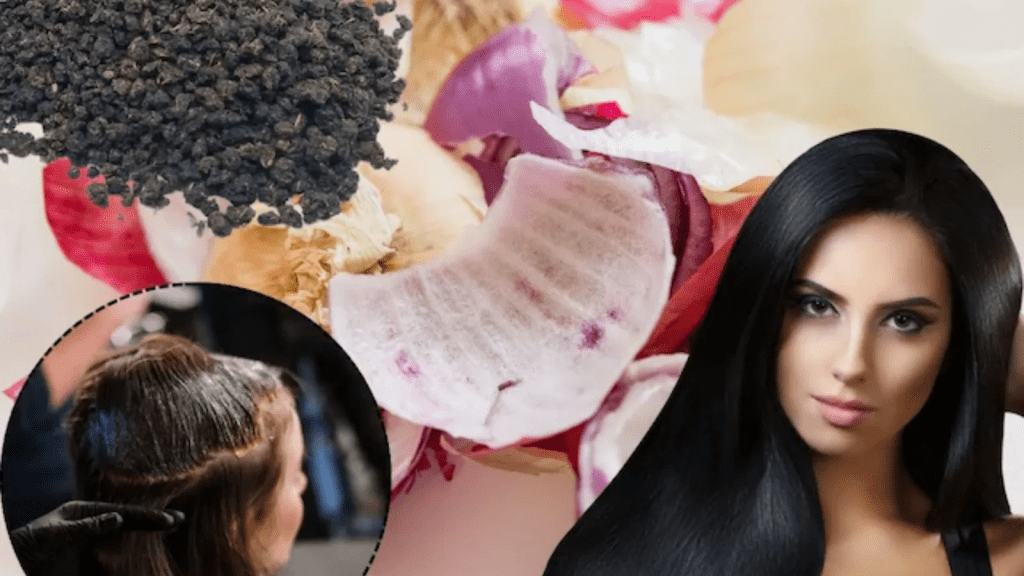
Onion peels, often discarded as kitchen waste, are packed with natural compounds that can subtly tint gray hair. The outer skins of onions, particularly red or yellow varieties, contain quercetin, a flavonoid with antioxidant properties that releases a natural pigment when boiled. This pigment imparts warm, reddish-brown tones that blend beautifully with gray hair, creating a soft, natural look.
Unlike chemical dyes, onion peels are gentle on the scalp and hair. They don’t penetrate the hair shaft aggressively, which means they’re less likely to cause dryness or breakage. This makes them ideal for those with sensitive skin or thinning hair. Additionally, onion peels are rich in sulfur, which may strengthen hair follicles and promote shine, offering a dual benefit of color and care.
This method isn’t just about aesthetics—it’s sustainable and cost-effective. Onion peels are free, readily available, and biodegradable, aligning with eco-conscious lifestyles. While the results are subtler than commercial dyes, they’re perfect for those seeking a low-maintenance, chemical-free way to enhance their hair’s appearance.
Gathering Your Supplies
Before you start, ensure you have everything you need for a smooth dyeing process. The good news? Most items are likely already in your kitchen or easily sourced.
What You’ll Need
| Item | Purpose | Where to Find |
|---|---|---|
| Onion peels (red or yellow) | Natural dye source | Kitchen scraps or local market |
| Stainless steel pot | Boiling the peels | Kitchen supply |
| Water | Extracting pigment | Tap or filtered |
| Strainer | Separating liquid | Kitchen supply |
| Bowl | Applying dye | Any clean bowl |
| Gloves (optional) | Avoiding stains on hands | Drugstore or online |
| Old towel | Protecting surfaces | Household item |
| Hairbrush | Even application | Personal care |
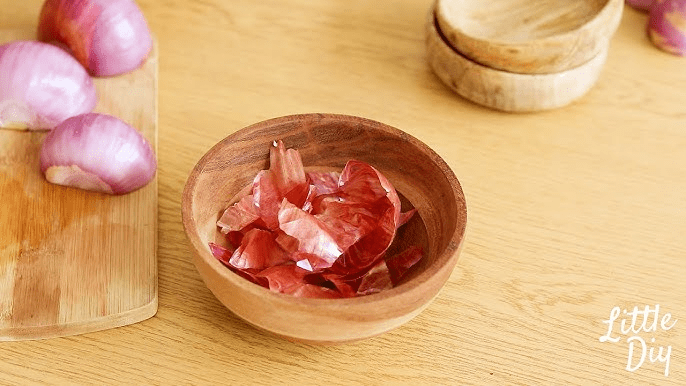
Collect peels from 4-6 medium onions for a single batch, enough to cover shoulder-length hair. Red onion peels yield richer, reddish tones, while yellow ones create golden-brown shades. Avoid using aluminum pots, as they can react with the natural compounds and alter the color.
Pro tip: Save peels over a week by storing them in a breathable cloth bag in a cool, dry place. This ensures you have enough for a potent dye.
Step-by-Step Guide to Dyeing Your Hair
Ready to transform your gray hair? Follow these steps for vibrant, natural results. This process takes about an hour, plus resting time for optimal color.
Step 1: Prepare the Onion Peel Dye
Place the onion peels in a stainless steel pot and cover with 4 cups of water. Bring to a boil, then reduce to a simmer for 30-45 minutes. The water will turn a deep reddish-brown as the pigments release. Stir occasionally to ensure even extraction. Once done, strain the liquid into a bowl and let it cool to room temperature. The cooled dye is gentler on your scalp and easier to apply.
Step 2: Prep Your Hair
Wash your hair with a clarifying shampoo to remove buildup, which helps the dye adhere better. Avoid conditioner, as it can create a barrier that reduces color absorption. Towel-dry your hair until damp but not dripping. Brush to remove tangles, ensuring even application.
Step 3: Apply the Dye
Wear gloves to avoid staining your hands. Divide your hair into sections for easier application. Using a clean sponge or gloved hands, apply the onion peel dye generously, starting at the roots and working toward the ends. Ensure all gray strands are saturated. For a more intense color, wrap your hair in plastic wrap or an old towel to trap heat and enhance absorption.
Step 4: Let It Set
Allow the dye to sit for 1-2 hours. The longer it sits, the more vibrant the color. For a subtle tint, 1 hour is enough; for deeper tones, aim for 2 hours. Place an old towel over your shoulders to catch drips.
Step 5: Rinse and Style
Rinse your hair thoroughly with lukewarm water until the water runs clear. Avoid shampooing for at least 24 hours to let the color settle. Style as usual, and enjoy your naturally enhanced hair!
Tips for Best Results
To maximize the effectiveness of your onion peel dye, consider these practical tips based on real-world experience:
- Test First: If you’re unsure about the color, test the dye on a small strand of hair first. This helps you predict the final shade.
- Boost Intensity: Add a tablespoon of apple cider vinegar to the dye mixture to enhance color adhesion. It also adds shine.
- Repeat for Depth: For more noticeable results, repeat the process every few days. The color builds gradually, offering a natural gradient.
- Protect Your Space: Lay down old towels or newspapers to avoid staining surfaces. Onion dye can leave temporary marks.
- Maintain Color: Use sulfate-free shampoos to preserve the color longer. Harsh shampoos can fade natural dyes faster.
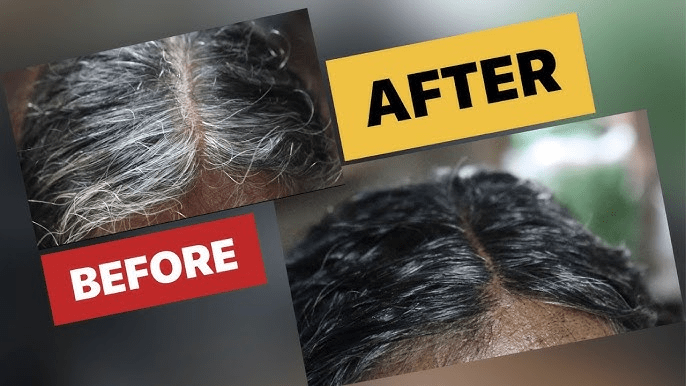
A case study: Sarah, a 52-year-old from California, switched to onion peel dye after experiencing scalp irritation from chemical dyes. After three applications over two weeks, her gray strands took on a warm auburn hue, and her hair felt softer. She now uses it monthly, saving money and avoiding salon visits.
Common Mistakes to Avoid
Even a simple process like this has pitfalls. Here’s how to steer clear:
- Using Too Few Peels: Skimping on peels results in a weak dye. Use at least 4-6 onions’ worth for vibrant color.
- Skipping the Rinse: Failing to rinse thoroughly can leave a sticky residue. Rinse until the water is clear.
- Hot Dye Application: Applying hot dye can irritate the scalp. Always let it cool completely.
- Expecting Dramatic Results: Onion peels won’t turn gray hair jet-black. Embrace the subtle, natural tones for the best outcome.
By avoiding these, you’ll ensure a smooth experience and beautiful results.
Benefits and Limitations of Onion Peel Dye
Benefits
- Chemical-Free: Safe for sensitive scalps and eco-friendly.
- Cost-Effective: Uses kitchen scraps, saving money.
- Nourishing: Sulfur in onion peels may strengthen hair.
- Customizable: Adjust intensity with multiple applications.
Limitations
- Subtle Color: Not as bold as chemical dyes.
- Temporary Effect: Lasts 1-3 weeks, depending on hair type.
- Time-Consuming: Requires preparation and setting time.
- Variable Results: Color varies by hair texture and natural shade.
Understanding these helps set realistic expectations. Onion peel dye is perfect for those prioritizing natural, low-maintenance hair care over dramatic transformations.
Frequently Asked Questions
How long does the color last?
The color typically lasts 1-3 weeks, depending on hair washing frequency and hair type. Reapply as needed.
Can I use it on non-gray hair?
Yes, but the effect is subtler on darker hair. Gray or light hair shows the color best.
Will it smell like onions?
No, the dye doesn’t leave an onion smell after rinsing thoroughly.
Is it safe for all hair types?
Yes, it’s gentle and safe for most hair types. Always do a patch test if you have sensitive skin.
Can I mix it with other natural dyes?
Yes, combining with henna or coffee can enhance the color. Experiment with small batches first.
Conclusion
Using onion peels to dye gray hair naturally is a game-changer for those seeking a safe, eco-friendly alternative to chemical dyes. This simple, budget-friendly method delivers subtle, warm tones while nourishing your hair. By following the steps and tips outlined, you can achieve beautiful results at home with minimal effort. While the color may not be as bold as salon dyes, its gentle nature and sustainability make it a worthy choice. Always consult a professional if you have concerns about allergies or scalp conditions. This content is for informational purposes only and does not replace professional medical advice.